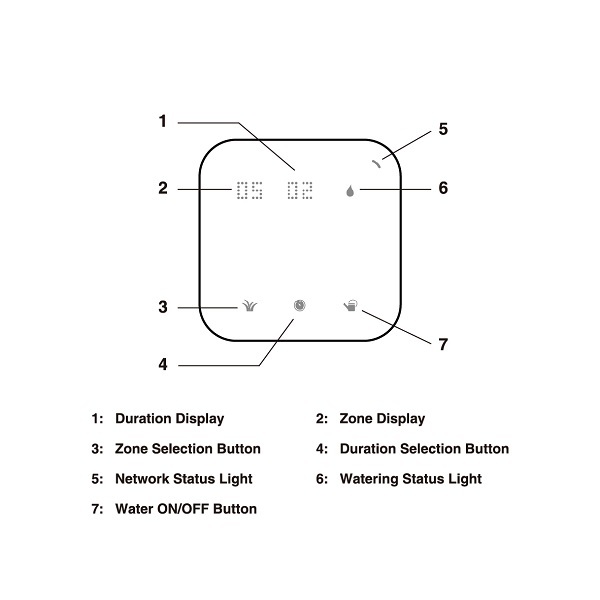
Product
Know your Spark
Preparation
Note: If you are not sure about the condition of your sprinkler system, you might want to check whether there are shorted zones or open zones. You just need to use a multimeter to measure the resistance between the common wire and each zone. The normal reading would be 20-60 Ohms. If the reading is less than 10 Ohms then you might have a shorted circuit in the solenoid and if it is larger than 80 Ohms you might have an open circuit. Please contact us or irrigation professionals for additional support.
2. Unplug the power of your current controller.
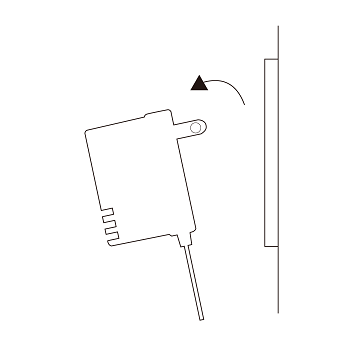
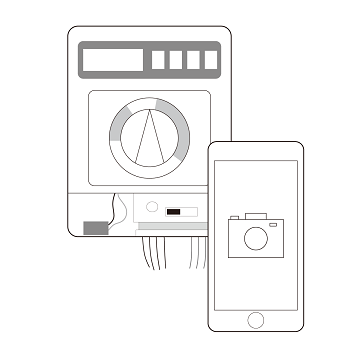
4. Remove your current controller.
Installation
1. Check the strength of the WiFi signal at the location where your Spark will be installed.
We recommend a signal of at least 2 bars on your phone.
Note: Spark is unable to connect to Wireless-B(11Mbps) routers. Spark only supports the newer standards, namely Wireless-N,Wireless-G and Wireless-AC. Spark is incompatible with 5 GHz Wi-Fi networks.
Also, please make sure the SSID (name of your home Wi-Fi) does not contain special characters like spaces or quotation marks.
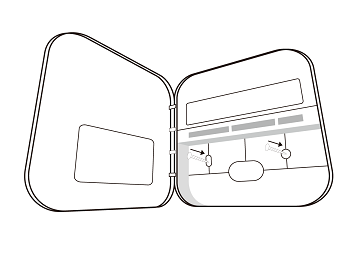
2. Remove the front cover from the base.
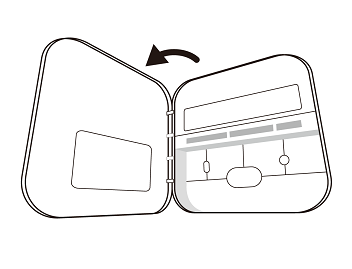
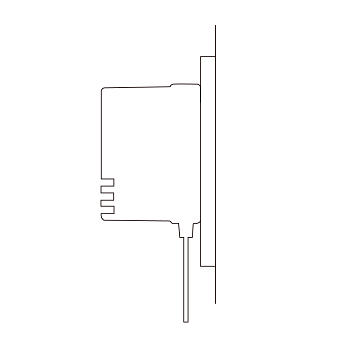
3. Install the Spark base to the wall using the two screws included.
Wiring
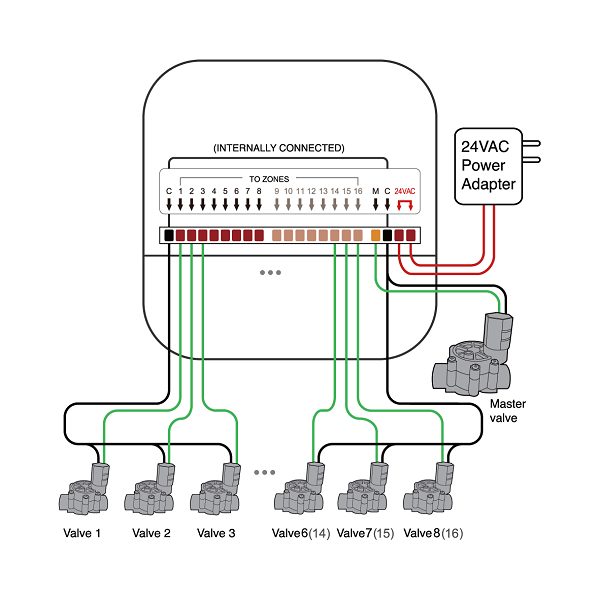
4. Reconnect the wires to the slots.
Tips:
1. Use the picture of the wires on your old controller to help you remember.
2. The slot named “M” is for the master valve or the pump. In some controllers it is named as “PMV” or “P/MV”. If you do not have a master valve or a pump, you can leave this "M" slot unconnected.
3. If the old controller has only one common wire, you can connect it to either one of the “C” slots and the other “C” slot will sit empty.
4. If you want to use your old power adaptor which has a ground wire, you can leave the ground wire open.
5. If the old controller is connected to a rain sensor, you do not need to connect the sensor wires because your Spark obtains weather information from the WiFi network.
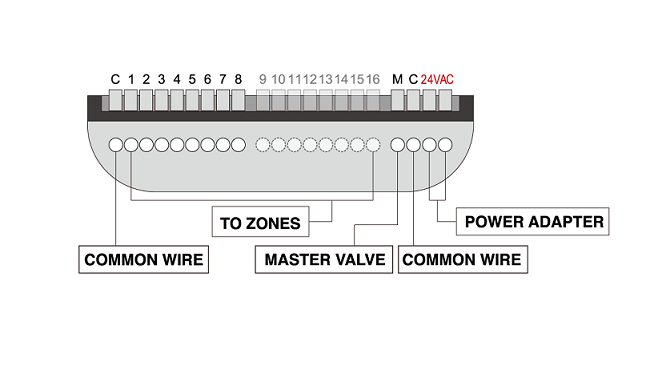
If you are not sure about the wiring, please send the picture of the wiring in the old controller to support@netrohome.com. Our customer service will provide quick support.
Setup
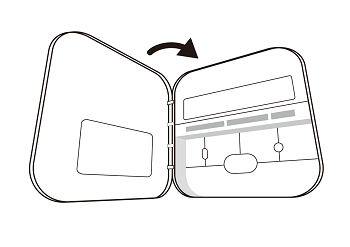
5. Put the front cover back on the base.
6. Plug in the power. Wait for 10 seconds, the light will be blinking slowly.
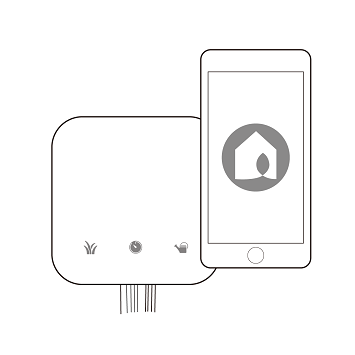
7. Download the free Netro app and start to configure.
Tip:
Search for "Netro" on Google Play and App Store.
Weather Data
Once your Spark is added to your account through the Netro app, the Netro cloud server automatically acquires the local weather data for adjusting the watering schedules.
-Change Providers
By default, your Spark is connected to DarkSky for weather data. You can change it to a different weather source in the Netro app->Settings->Controller->Weather Provider.
Smart Zone
Your Spark optimizes the watering schedules based on weather conditions and watering regulations. You can select the Smart level for each zone in the Netro app->Settings->Zones->Smart Zone.
-Advanced:
Your Spark automatically creates smart watering schedules based on moisture level and watering regulations. User programs will be skipped based on local weather conditions.
-Basic:
No smart watering schedules will be created and you need to setup user programs in Settings->Programs. Your Spark skips user programs based on local weather conditions and watering regulations.
Network Status Light
The network status light on your Spark has five possible statuses:
Blinking slowly in blue: this means the unit is in its HOST mode. This happens when you first plug in your Spark or reset it, and indicates that it needs to go through the setup steps in the app to connect to a home WiFi network.
Solid in white: this means the unit is trying to connect to your home WiFi. It will change to either solid green or solid red within 30 seconds.
Solid in green: this means the unit is connected to your home WiFi.
Blinking in green: this means this unit is communicating with the cloud server.
Solid in red: this happens when you first set up your unit and did not enter the correct password, or whenever it loses its connection to the Netro cloud server.
The Reset Button
The reset button is behind the front cover. It is marked RST. You will need a pin or long, thin object to press the button.
Short press: to reset your Spark to its HOST mode, simply press the button once for less than 1 second. Your Spark should start blinking slowly in a few seconds.
Long press: to reset the unit to factory settings, hold down on the button for 6-8 seconds. Wait for 10 seconds, the light on your Spark should start blinking slowly.
Note: to ensure successful reset, reboot Spark before resetting:
1. Power off the device(unplug the power adapter).
2. Wait for 10 seconds, replug the power back in.
3. Wait for 1 minute for the device to start up.
Manually Control from the Console
You can manually start or stop watering by using the three buttons on the console.
Start a manual run:
1. Press the Zone Selection Button(left button) to select a zone. To select all the zones, hold the button until the Zone Display shows “_ _”.
2. Press the Duration Selection Button(middle button) to select the duration in minutes. Holding the button will accelerate the increment of minutes.
3. Press the Water ON/OFF Button(right button) to start the watering.
Stop watering
When the controller is watering, pressing the Water ON/OFF Button will stop the watering immediately. If the watering was due to a smart schedule or a user program, please use the Netro app to cancel the future runs.
